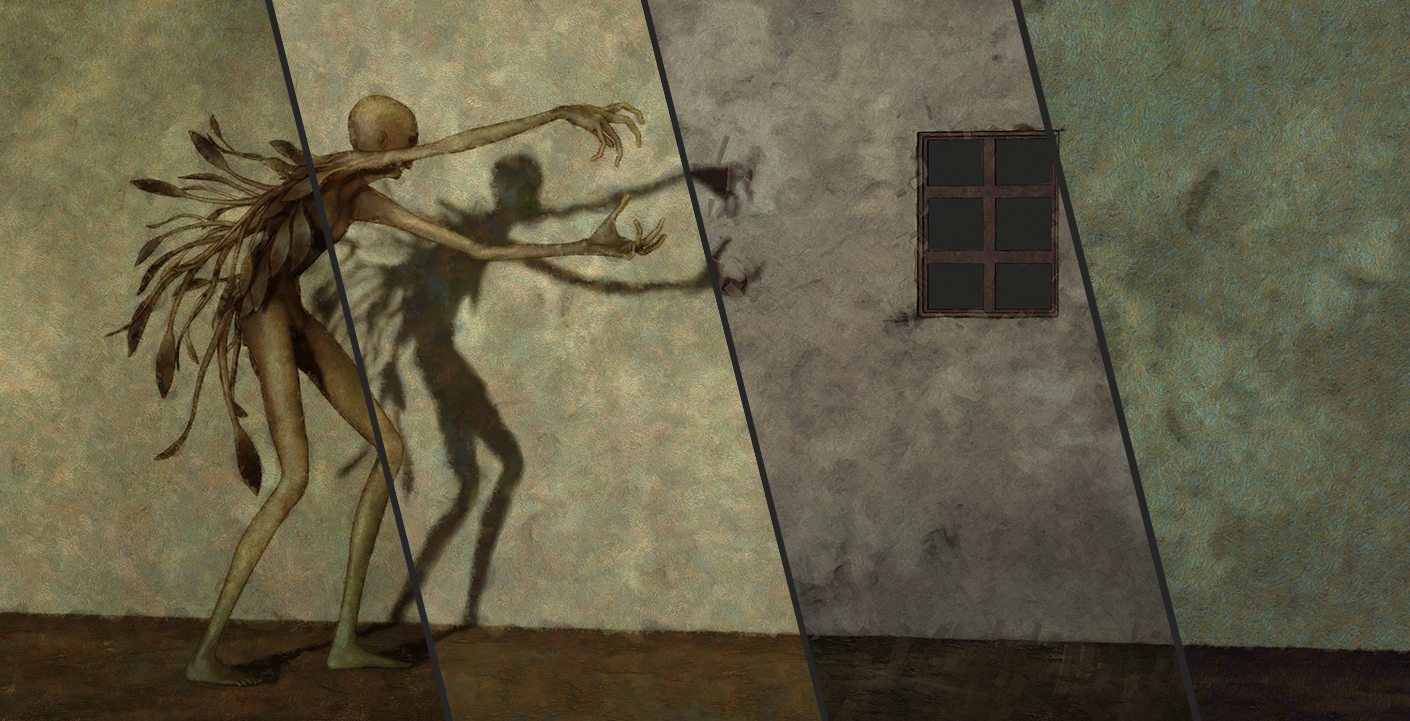
So in the previous post, I briefly went over the setup of the scene for the illustration... nothing fancy, just the meshes I used, the polypaint and the details I added to the meshes. We are nearly ready with this project so the next step is to render the image (probably multiple passes) and do quick compositing to add the extra elements like the 'distorted shadow'.
I've put together a tutorial where I'm walking you step by step through various filters and the way I set them up for a more 'painterly' illustration in ZBrush. These are a few BPR settings with filters I generated:
Join us today and get the exclusive monthly content!
Sign up now to get access to the full library of posts and all the good stuff from upcoming monthly projects.