Today I have a 'juicy' update with a few cool tips and tricks to begin the texturing process of the 'weird anatomy scene'.
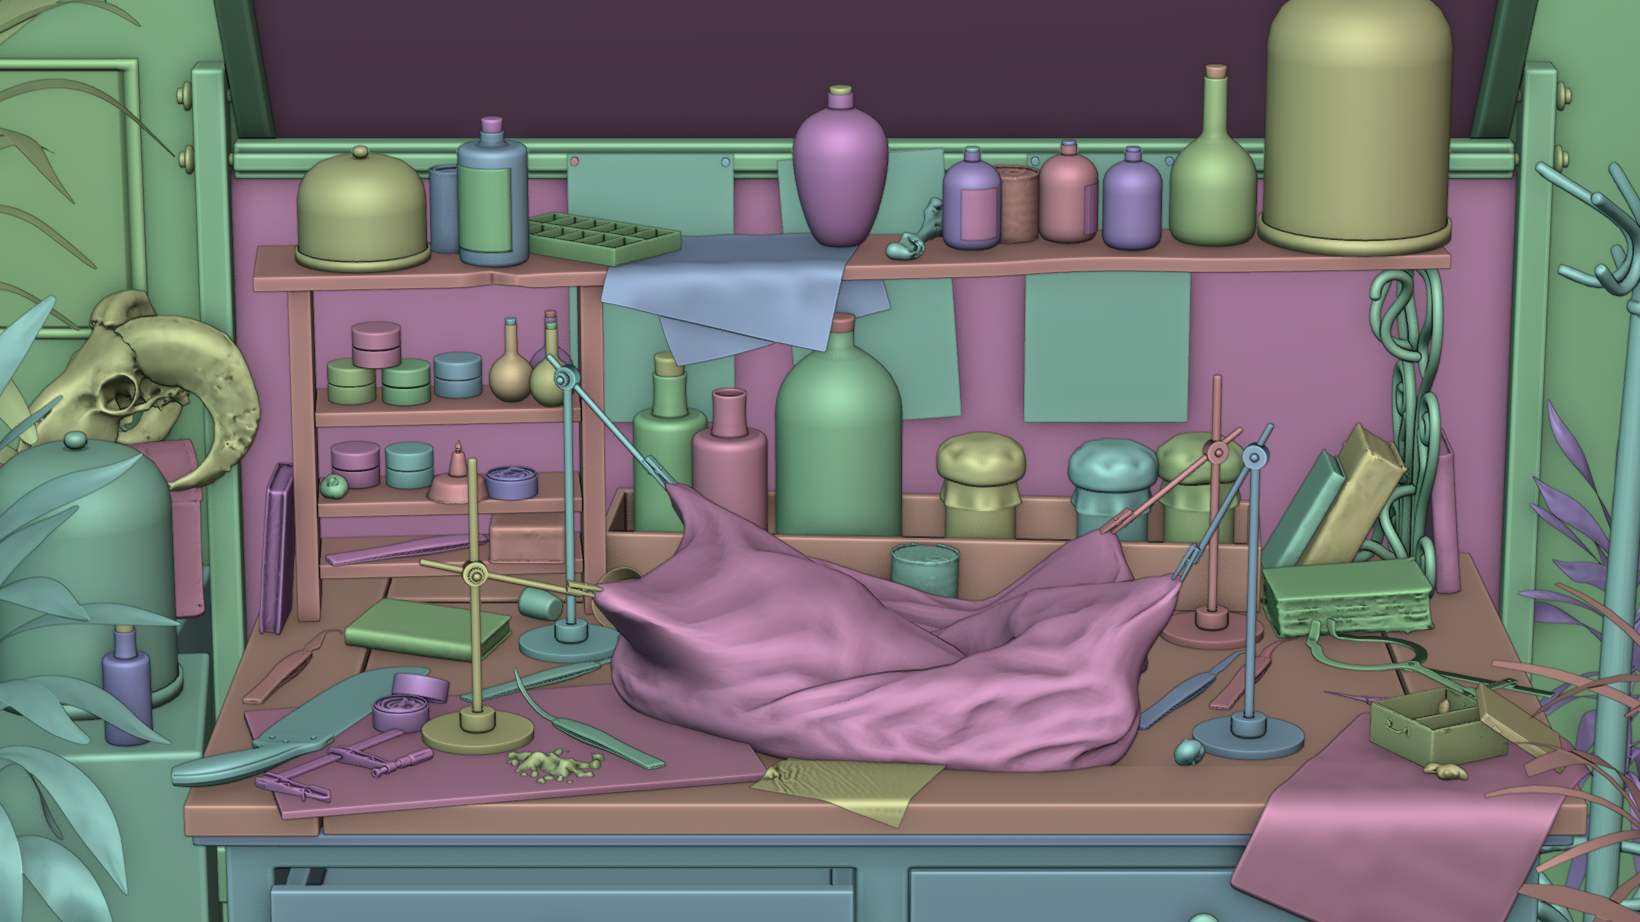
I went ahead and use the assets I shared with you in the last post and arrange them on the desk and shelf to create the scene. I also polished the 'cubes' I used for the desk and shelf a bit so that they had nicer bevels around the edges and all that.
This is how the scene is looking at the moment (it has some extras that I'll explain later in this post).
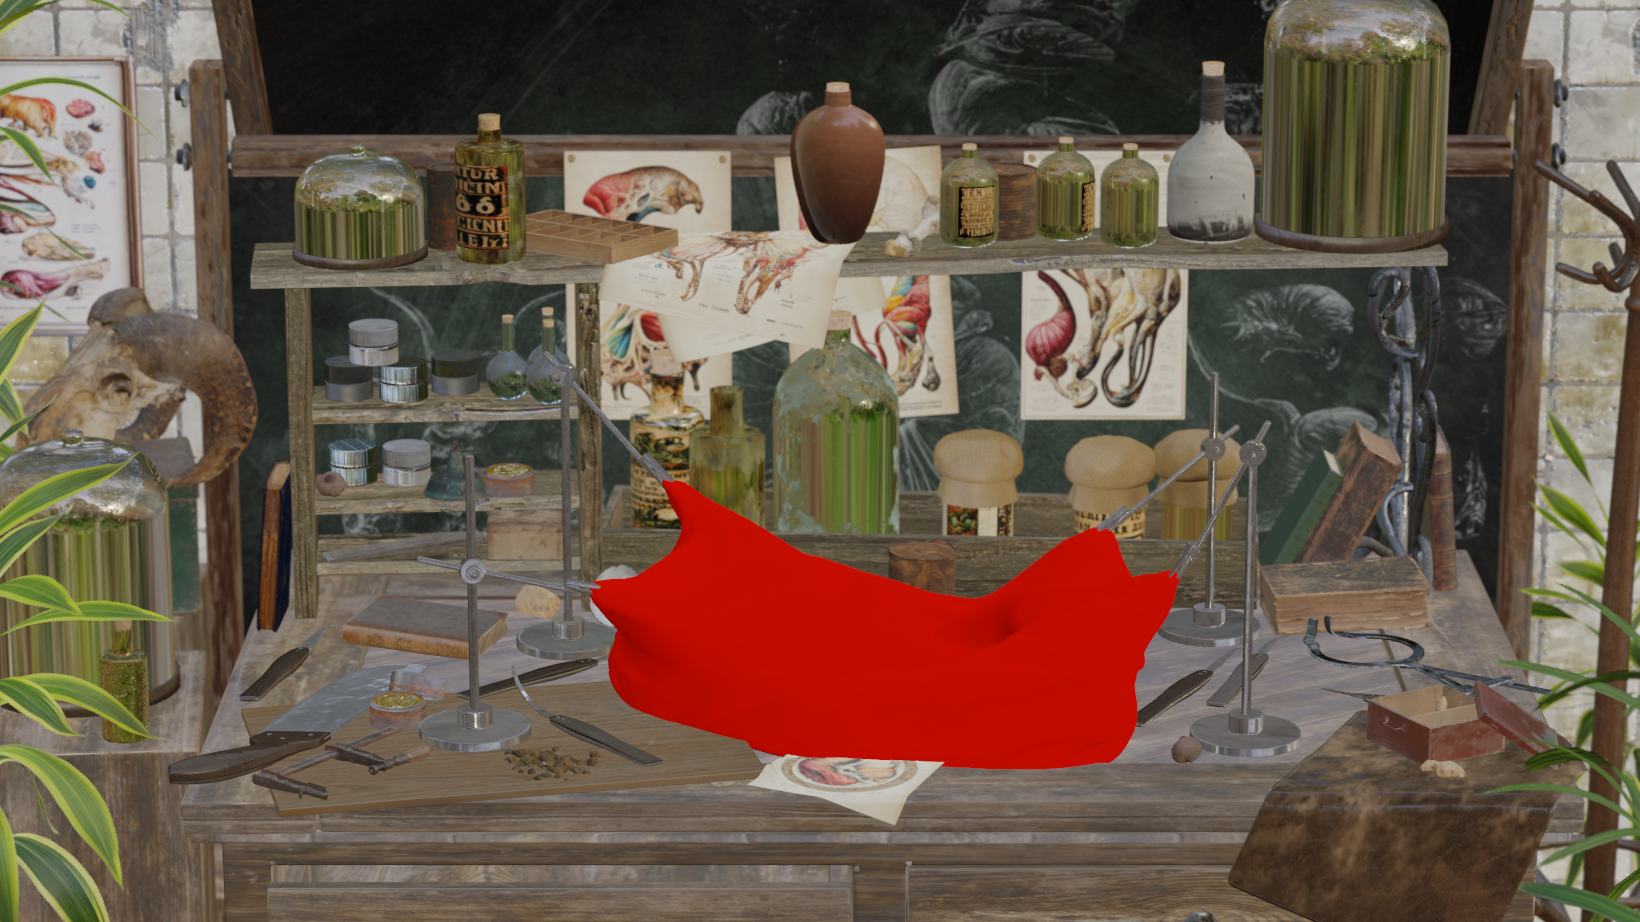
And these are most of the textures for the props ready! (you can obviously ignore the 'red blob' that is just a reference for the main piece that I'll start working on right after this post.
Ok, let's get to it...
Join us today and get the exclusive monthly content!
Sign up now to get access to the full library of posts and all the good stuff from upcoming monthly projects.