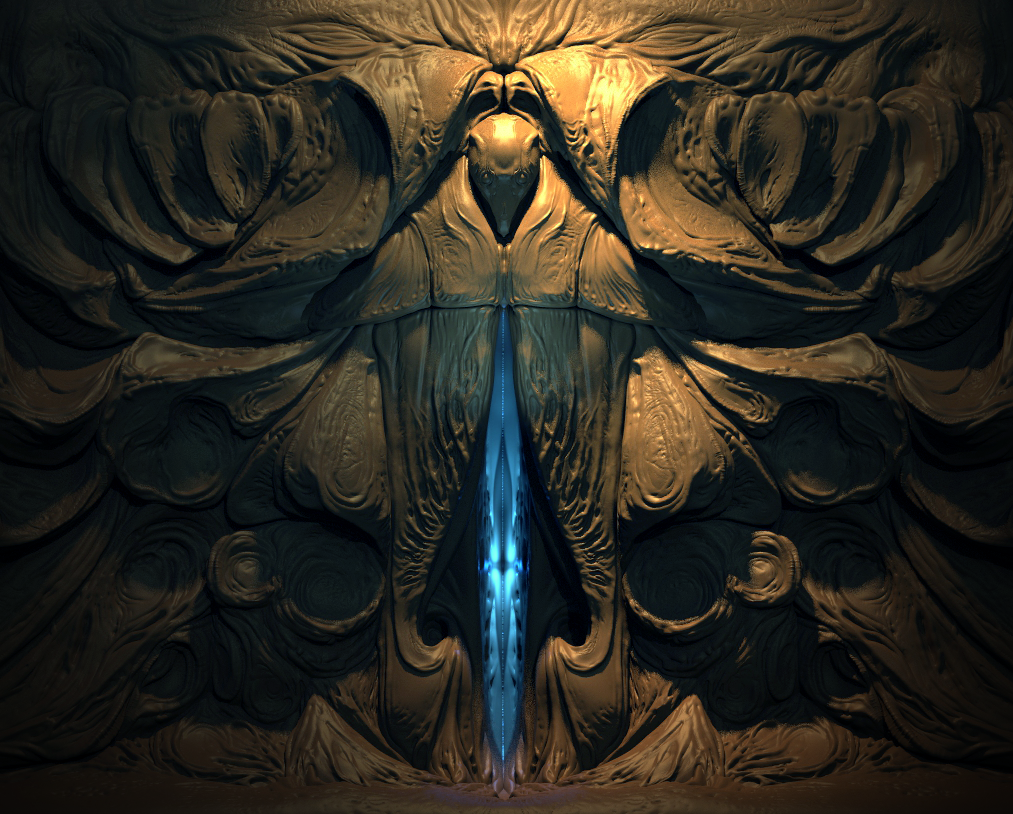
I might sound like a broken record, but sculpting details in ZBrush is really easy... the key for a solid sculpt is to work on the forms. With the quick blocking tech quite I shared in the previous post I already had something decent going so I spent some time tweaking the volumes of the various subtools so that they feel part of the same.
Here is another WIP render (this time from Keyshot):
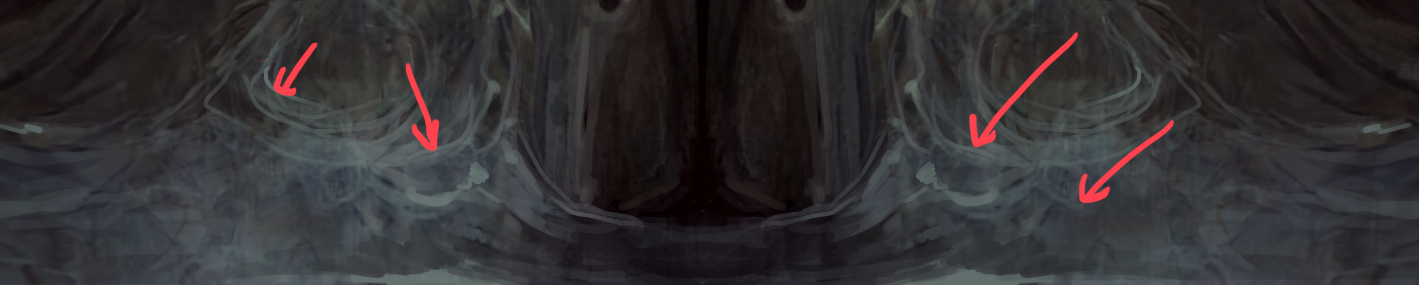
I think I'm happy with the 'flow' of the volumes and the general balance of details. The next thing that is probably going to give this concept a bit of a lift, is the weird 'membranes' or 'giant spider webs' that are at the bottom of the original design:
Anyway... for the details of this concept I used some of my custom brushes from the Giger & Beksinski pack. I want to go for that type of dark surreal vibe so they are useful in this project
Join us today and get the exclusive monthly content!
Sign up now to get access to the full library of posts and all the good stuff from upcoming monthly projects.